Monday, 22 June 2015

Sunday, 21 June 2015
Edit and Evaluation
Editing
The editing for my animation was complex because of all the work required to create one frame. First we would capture the original image. Once we captured the original image we had to put it into a folder. Once the image was in the folder we would create a transparent layer and place the image underneath. We obviously put our own spin on each image as we didn't like what we saw in the original image. The animation we choose to do was rotoscoping, e.g. drawing over an image or video. We overall created 150 frames which took about a month to create. For amateur animators this is normal amount of time as it takes professional months to create 1 episode. I did the first half of the animation while Matthew did the second half. We both followed the same editing structure for creating frames. We choose to do 5 frames per second, which ended up being too short, so we had to create a intro and end sequence for the animation. All frames are of high quality as you can tell exactly what the character is doing and what he look like. We used a tablet in PhotoShop to help us create the frames for our animation. It frame was given a number in order from 1-150. The frame and original image would grouped into the same folder for easy access. We followed the storyboard we created for the perfect edit. When creating each frame we though about the brightness and shadows created from the characters and the background environment. An example of this would be the ball in the characters hand, the purple represents the inner circles shadow.
Evaluation
The rough cut is exactly the same as the final video. The rough cut was of high quality according to Dave Harrison former media teacher at Long Road. He did say that the frame rate could be quicker to make the animation smoother, but doing this would go under 2 minutes.
Positive Feedback- Class members said the animation was of high quality e.g. the animation (drawings) were really good.
- They could understand the story was about friendship and that two people were fighting.
- They thought the music worked well with the animation as it set the mood.
- Both drawings from both animators worked nicely together
Negative Feedback
- Could change the frame rate for better animation

First we used PhotoShop to create the frames for our animation.

Secondly we exported the frames into Adobe After Effects where we ordered the frames and put them into a timeline from frame 1-150.

Finally once the frames where ordered into a timeline, we exported the timeline form After Effects into Premiere Pro, where we created a new key sequence and added the soundtrack.


Rough Cut and Review
The rough cut is exactly the same as the final video. The rough cut was of high quality according to Dave Harrison former media teacher at Long Road. He did say that the frame rate could be quicker to make the animation smoother, but doing this would go under 2 minutes.
Positive Feedback
- Class members said the animation was of high quality e.g. the animation (drawings) were really good.
- They could understand the story was about friendship and that two people were fighting.
- They thought the music worked well with the animation as it set the mood.
- Both drawings from both animators worked nicely together
Negative Feedback
- Could change the frame rate for better animation

Friday, 19 June 2015
Monday, 15 June 2015

process and Equipment
process and equipment:
Louis's half
For me and Matthew's animation we had decided to go with Rotoscoping. Firstly to do this we had to decide what video footage we would like to draw over. Me and Matthew decided to do a tribute to a program we both enjoy and change the animation type and features to our liking. We did this by selecting the footage we wanted to Rotoscope from Youtube and importing it into Photoshop. Once the the video was imported into Photoshop we broke the video down into 24 frames per second. Once the clip was broken down we got 150 frames to draw. Me and Matthew divided the workload equally and have done 75 frames each. Once we got the frames we needed to draw, we changed the colours to our liking and had are way with it. Once we completed the frames we shall export it and import it into Premier. Once in Premier we shall speed up the animation and create an opening plus end credits.

Matts half
.jpg)
Sound for Animation
The song from my animation is from a current anime series. The song was used for work and creative purposes only. No copyright infringement was intended when creating the animation. The use of the song was to build suspense and to create the atmosphere of the animation. There is no dialog to my animation, so the background song is the only sound you can hear all the way through. The song is called Girei (pains theme) and we obtained it from youtube.

For the music used in the animation we just an edited version of a characters theme song that had thunderstorm ambient sounds added into them. point of inserting this piece of music in the video was to help create the background that where we trying to give off with the animation
https://www.youtube.com/watch?v=kUxMoQ-Xi2U
The second piece of music used in the credits was from the actual series and its know as the will of fire which is directly from the anime
https://www.youtube.com/watch?v=nyFBV8P6EuQ
https://www.youtube.com/watch?v=kUxMoQ-Xi2U
The second piece of music used in the credits was from the actual series and its know as the will of fire which is directly from the anime
https://www.youtube.com/watch?v=nyFBV8P6EuQ

Sunday, 14 June 2015

Wednesday, 9 July 2014


Process of Animation
For me and Matthew's animation we had decided to go with Rotoscoping. Firstly to do this we had to decide what video footage we would like to draw over. Me and Matthew decided to do a tribute to a program we both enjoy and change the animation type and features to our liking. We did this by selecting the footage we wanted to Rotoscope from Youtube and importing it into Photoshop. Once the the video was imported into Photoshop we broke the video down into 24 frames per second. Once the clip was broken down we got 150 frames to draw. Me and Matthew divided the workload equally and have done 75 frames each. Once we got the frames we needed to draw, we changed the colours to our liking and had are way with it. Once we completed the frames we shall export it and import it into Premier. Once in Premier we shall speed up the animation and create an opening plus end credits.

Monday, 7 July 2014
Where I am at the moment for animation
We have finished the animation, but need to export it as a movie. We will change the speed to make the animation look good first.
Tuesday, 24 June 2014
Progress So Far


Above: one of the frames of a close up on the characters eye
the animation is going well so far. with most of the frames done i can be done with in the week and start piecing my half of the animation together
Monday, 9 June 2014
Thursday, 15 May 2014
My animations storyboard
Storyboard

- 1.1. Long Shot - Protagonist 1 uses power
- 1.2. Close Up - Protagonist 1 charging power
- 1.3 Medium Shot - Protagonist 1 charging
- 1.4 Close up - Protagonist 2 charging power

- 1.5. Close up - Protagonist 2 charging power
- 1.6. Close Up - Protagonist 2 charging power
- 1.7. Long Shot - Protagonist 2 charging power
- 1.8. Extreme Close Up - Protagonist 2 eye reaction

- 1.9. Long Shot - Shot of the surrounding Environment
- 2.0. Long Shot - Shot of the surrounding Environment
- 2.1. Long Shot - Protagonist 1 charging
- 2.2. Long Shot - Protagonist 2 charging

- 2.3. Long Shot - Protagonist 1 charging
- 2.4. Long Shot - Protagonist 2 charging
- 2.5. Mid Shot - Protagonist 1 charging
- 2.6. Mid Shot - Protagonist 1 charging

- 2.7. Mid Shot - Characters preparing to fight
- 2.8. Mid Shot - Characters preparing to fight
- 2.9. Mid Shot - Characters preparing to fight
- 3.0. Mid Shot - Characters preparing to fight

- 3.1. Mid Shot - Characters Charging
- 3.2. Mid Shot - flash of white
- 3.3. Long Shot - Characters collide
- 3.4. Long Shot - Characters collide
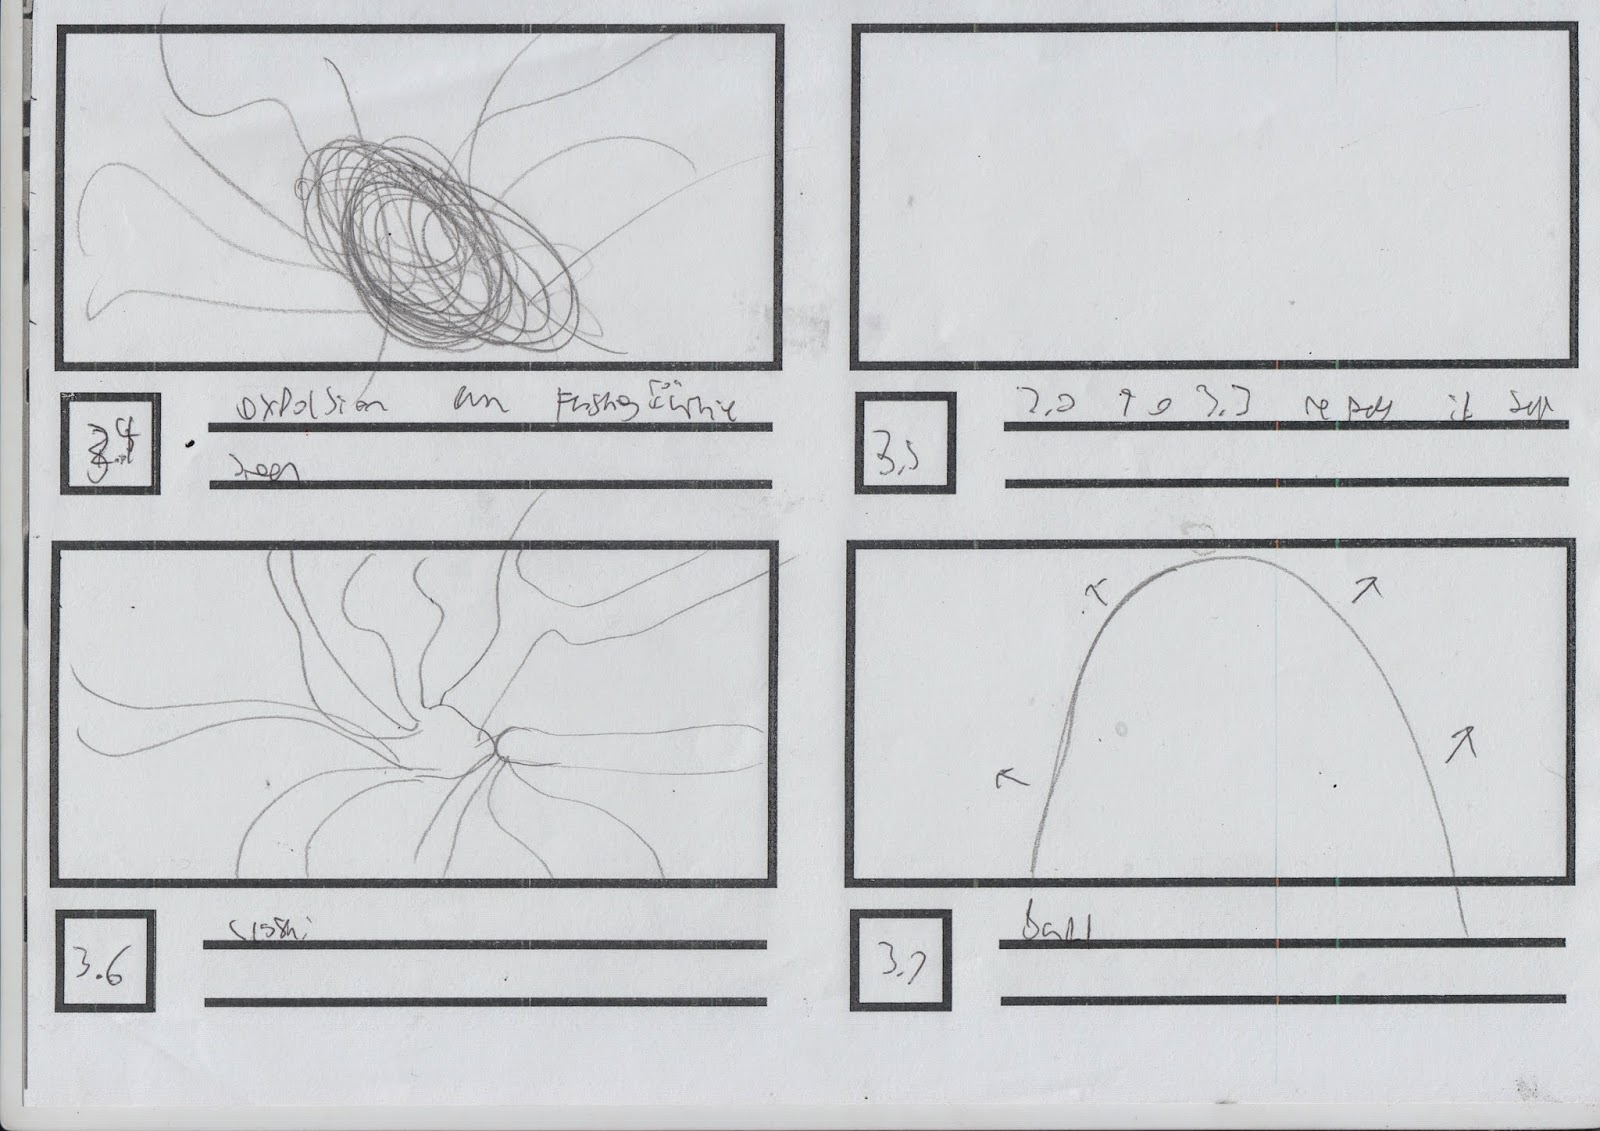
- 3.4. Long Shot - Characters collide
- 3.5. Long Shot - Characters collide
- 3.5. Extreme Long Shot - Characters collide
- 3.7. Long Shot - Characters collide

- 3.8. Close Up - Protagonist 1 facial reaction
- 3.9. Extreme Close Up - Protagonist 1 facial reaction
- 4.0. Extreme Close Up - Protagonist 1 facial reaction
- 4.1. Extreme Close Up - Protagonist 1 facial reaction

- 4.2. Long Shot - Shot of the surrounding Environment
- 4.3. Long Shot - Shot of the surrounding Environment
- 4.4. Extreme Long Shot - Shot of the surrounding Environment
- 4.5. Long Shot - Shot of the surrounding Environment

- 4.6. Long Shot - Shot of the surrounding Environment
- 4.7. Long Shot - Shot of the surrounding Environment
- 4.8. Long Shot - Shot of the surrounding Environment
- 4.9. Long Shot - Shot of the surrounding Environment

- 5.0. Long Shot - Friend Coming to the rescue
- 5.1. Extreme Long Shot - Friend Coming to the rescue
- 5.2. Long Shot - Friend Coming to the rescue
- 5.3. Extreme Long Shot - Friend Coming to the rescue

- 5.4. Extreme Long Shot - Shot of the surrounding Environment
- 5.5. Long Shot - Shot of the surrounding Environment
- 5.6. Extreme Long Shot - Friend coming to the rescue
- 5.7. Extreme Long Shot - Friend coming to the rescue

- 5.8. Long Shot - Environment Breaking
- 5.9. Long Shot - Environment Breaking
- 6.0. Long Shot - Environment Breaking
- 6.1. Long Shot - Environment Breaking

- 6.2. Long Shot - Environment Breaking
- 6.3. Long Shot - Environment Breaking
- 6.4. Long Shot - Environment Breaking
- 6.5. Long Shot - Environment Breaking

- 6.6. Long Shot - Environment Breaking
- 6.7. Long Shot - Environment Breaking
- 6.8. Long Shot - Environment Breaking
- 6.9. Long Shot - Environment Breaking

- 7.0. Long Shot - Environment Breaking
- 7.1. Long Shot - Environment Breaking
- 7.2. Long Shot - Aura ball changing
Thursday, 8 May 2014
Friday, 2 May 2014
Flash
Today we went on Flash and I created this man jumping through a portal.


1. First I Insert blank key frames
2. I imported the pictures into Flash and put them into separate frames.
3. Each picture represents a different step of the character jumping. If you put the character in the same positon then adjust them, it creates the illusion of a man jumping.
4. I added an oval shape in-between the motion of the character jumping to create the illusion of a man jumping through a portal.
5. Finally I added blank keyframes to extend the length of my man jumping.
The second animation I created was Diglett. I did a similar process to what I did with Portal Man apart from this time I followed a tutorial I got off Youtube. I did the same steps as before but this time I created my own background, character and made him bounce up and down. This creates the illusion of Wack the Mole (game).
Wednesday, 30 April 2014
ANIMATION PROJECT IDEA'S/RESEARCH
ANIMATION PROJECT IDEA'S/RESEARCH
IDEA
the Idea is that me and Louis will use the rotoscope technique that we learned to rotoscope one of the fight scene's from Naruto.
we will thing of the style of our characters, whether we will make our own characters or we could do a mix or our and and the current one by using some of the features of the characters and using our own ideas.
the second idea is to go out with a camera and fake a fight for us to use in photoshop and rotoscope it into our animation,
only downside to this is that each fight in Naruto can be up to a couple of hours long and as short as a few minuets. the point is to select a possible moment into a short rotoscope animation
 ROCK LEE VS GARRA
the Idea is that me and Louis will use the rotoscope technique that we learned to rotoscope one of the fight scene's from Naruto.
we will thing of the style of our characters, whether we will make our own characters or we could do a mix or our and and the current one by using some of the features of the characters and using our own ideas.
the second idea is to go out with a camera and fake a fight for us to use in photoshop and rotoscope it into our animation,
only downside to this is that each fight in Naruto can be up to a couple of hours long and as short as a few minuets. the point is to select a possible moment into a short rotoscope animation
Subscribe to:
Posts (Atom)